
Is your off-road machine’s battery always low, or do your lights look dim? These are common signs of a weak charging system, and the stator is often the cause. Before buying new parts, you can find the problem quickly using a multimeter. This simple guide explains how to test a stator, step by step, so you can fix the issue and get your equipment running smoothly again.
Why Should You Test Your Stator?
Testing your stator is the first step when your battery keeps dying, or the charging system isn’t working right. The stator is the heart of the electrical system. To understand its role better, it’s helpful to know the difference between a stator and a rotor. It creates the AC power your machine needs to charge the battery and run lights, ignition, and electronics. A quick stator test helps you:
- Avoid replacing good parts, like the battery or voltage regulator.
- Save time and money on unnecessary repairs.
- Find the real problem right away.
4 Common Symptoms of a Bad Stator
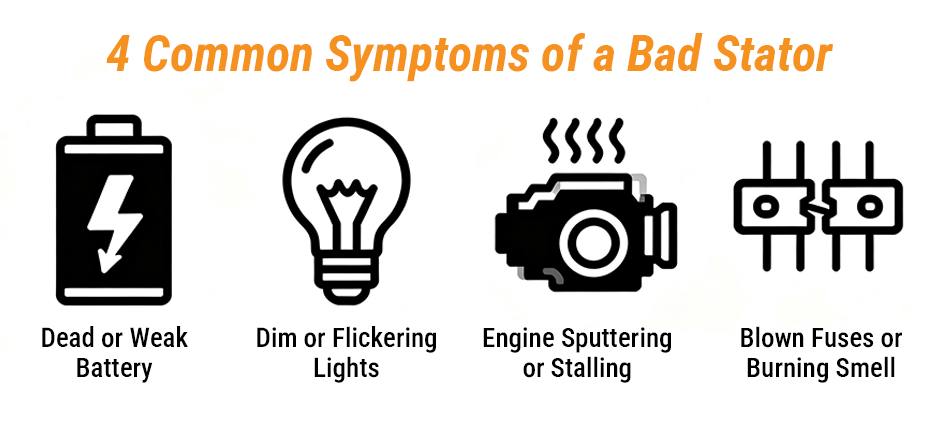
Watch for these signs that your stator may be failing:
- Dead or Weak Battery: The engine runs, but the battery keeps draining. The stator isn’t making enough power to recharge it. This can sometimes be confused with other issues, so it’s useful to know how to tell the difference between a bad alternator vs a bad battery.
- Dim or Flickering Lights: Headlights and dash lights may flicker or pulse when engine speed changes. This means the stator is producing uneven power.
- Engine Sputtering or Stalling: The ignition needs a steady voltage. A bad stator can cause weak sparks, misfires, or stalling.
- Blown Fuses or Burning Smell: If the stator shorts, it can send too much voltage through the system. You might smell burnt plastic or see blown fuses near the engine cover.
What Tools Do You Need for the Test?
You don’t need much — just a few basic tools:
- Digital Multimeter: For checking resistance and voltage. This versatile tool can also be used to test a spark plug with a multimeter.
- Basic Hand Tools: Wrenches or sockets to remove covers and reach connectors.
- Service Manual: To look up the correct resistance and voltage specs for your machine.
Having these ready will make your test quick and safe.
How to Test a Stator in 5 Simple Steps
Follow these steps carefully. Always work on a cool engine and wear safety gear.
Step 1: Safety and Preparation
Park your machine on a flat surface. Make sure the engine is off and cool. Disconnect the negative battery cable to prevent any short circuits. Locate the stator connector — usually three wires of the same color (often yellow) coming from the engine to the regulator/rectifier. Unplug the connector so you can test the stator separately.
Step 2: How to Perform the Stator Resistance Test
This checks the condition of the stator windings. Ensure the battery is still disconnected. Set your multimeter to Ohms (Ω), around the 200 Ω range. Touch the multimeter probes to test each pair of stator wires:
- Pin 1 to Pin 2
- Pin 1 to Pin 3
- Pin 2 to Pin 3
Record the resistance readings. They should be very low — usually 0.2 to 1.0 Ohms — and all three readings should be similar. If any reading shows “OL” (infinite), the winding is broken. If a reading is significantly lower than the manual’s specification (e.g., 0.0-0.1 Ω), the stator is shorted. Both mean the stator is bad.
Step 3: How to Perform the Ground Test
This checks if the stator is shorted to the engine. Ensure the battery is still disconnected. Keep your multimeter on Ohms (Ω). Touch one probe to a clean metal part of the engine (ground). Touch the other probe to each stator pin, one at a time. The multimeter should show “OL” or infinite resistance for all pins. If you see any numbers or hear a beep (on continuity mode), the stator is grounded — it must be replaced.
Step 4: How to Check Stator AC Voltage Output
This test shows if the stator generates power when the engine runs. First, plug the stator connector back in. Then, reconnect the negative battery cable. Set your multimeter to AC Voltage (V~). Have a helper start the engine. Carefully insert your multimeter probes into the back of the stator connector to touch the metal terminals (you can call this back-probing). Measure voltage between each pair of stator pins:
- 1 and 2
- 1 and 3
- 2 and 3
The voltage should be even across all pairs, and it should rise as RPM increases. Use your manual to confirm expected values — usually about 20–30V AC at idle and 50–70V AC at higher RPMs.
Step 5: How to Interpret Your Multimeter Readings
Your results will clearly show if the stator is good or bad:
- Resistance Test Fail: “OL” reading or a reading well below spec → Broken or shorted windings.
- Ground Test Fail: Any number or beep → Shorted to ground.
- AC Output Test Fail: Low or uneven voltage → Poor or no power generation.
If any test fails, your stator needs replacement.
Conclusion
If all stator tests pass, check other parts like the regulator/rectifier or wiring for damage. If the stator fails, replacement is the only fix — rewinding or repair usually isn’t worth it. Usually, finding a replacement from a reliable source like FridayParts is a good choice. Testing with a multimeter may sound tricky, but once you try it, it’s simple. You’ll quickly know if your stator is alive or dead and avoid wasting time on guesswork. Understanding how to test it keeps your off-road machine reliable, reduces downtime, and helps you handle electrical problems like a pro.